2D Barcode

The application enables easy creation of 2D barcodes according to the HUB3 standard for quick and convenient payment of bills or offers.

You can share the generated barcode with other users who can use it to pay via mobile applications of most banks.

You can send the created barcode as an image or save it as a pdf and send a barcode image to users who can then upload the barcode to the mobile banking application for payment.

You can view all changes and updates HERE.

Free version

Paid version

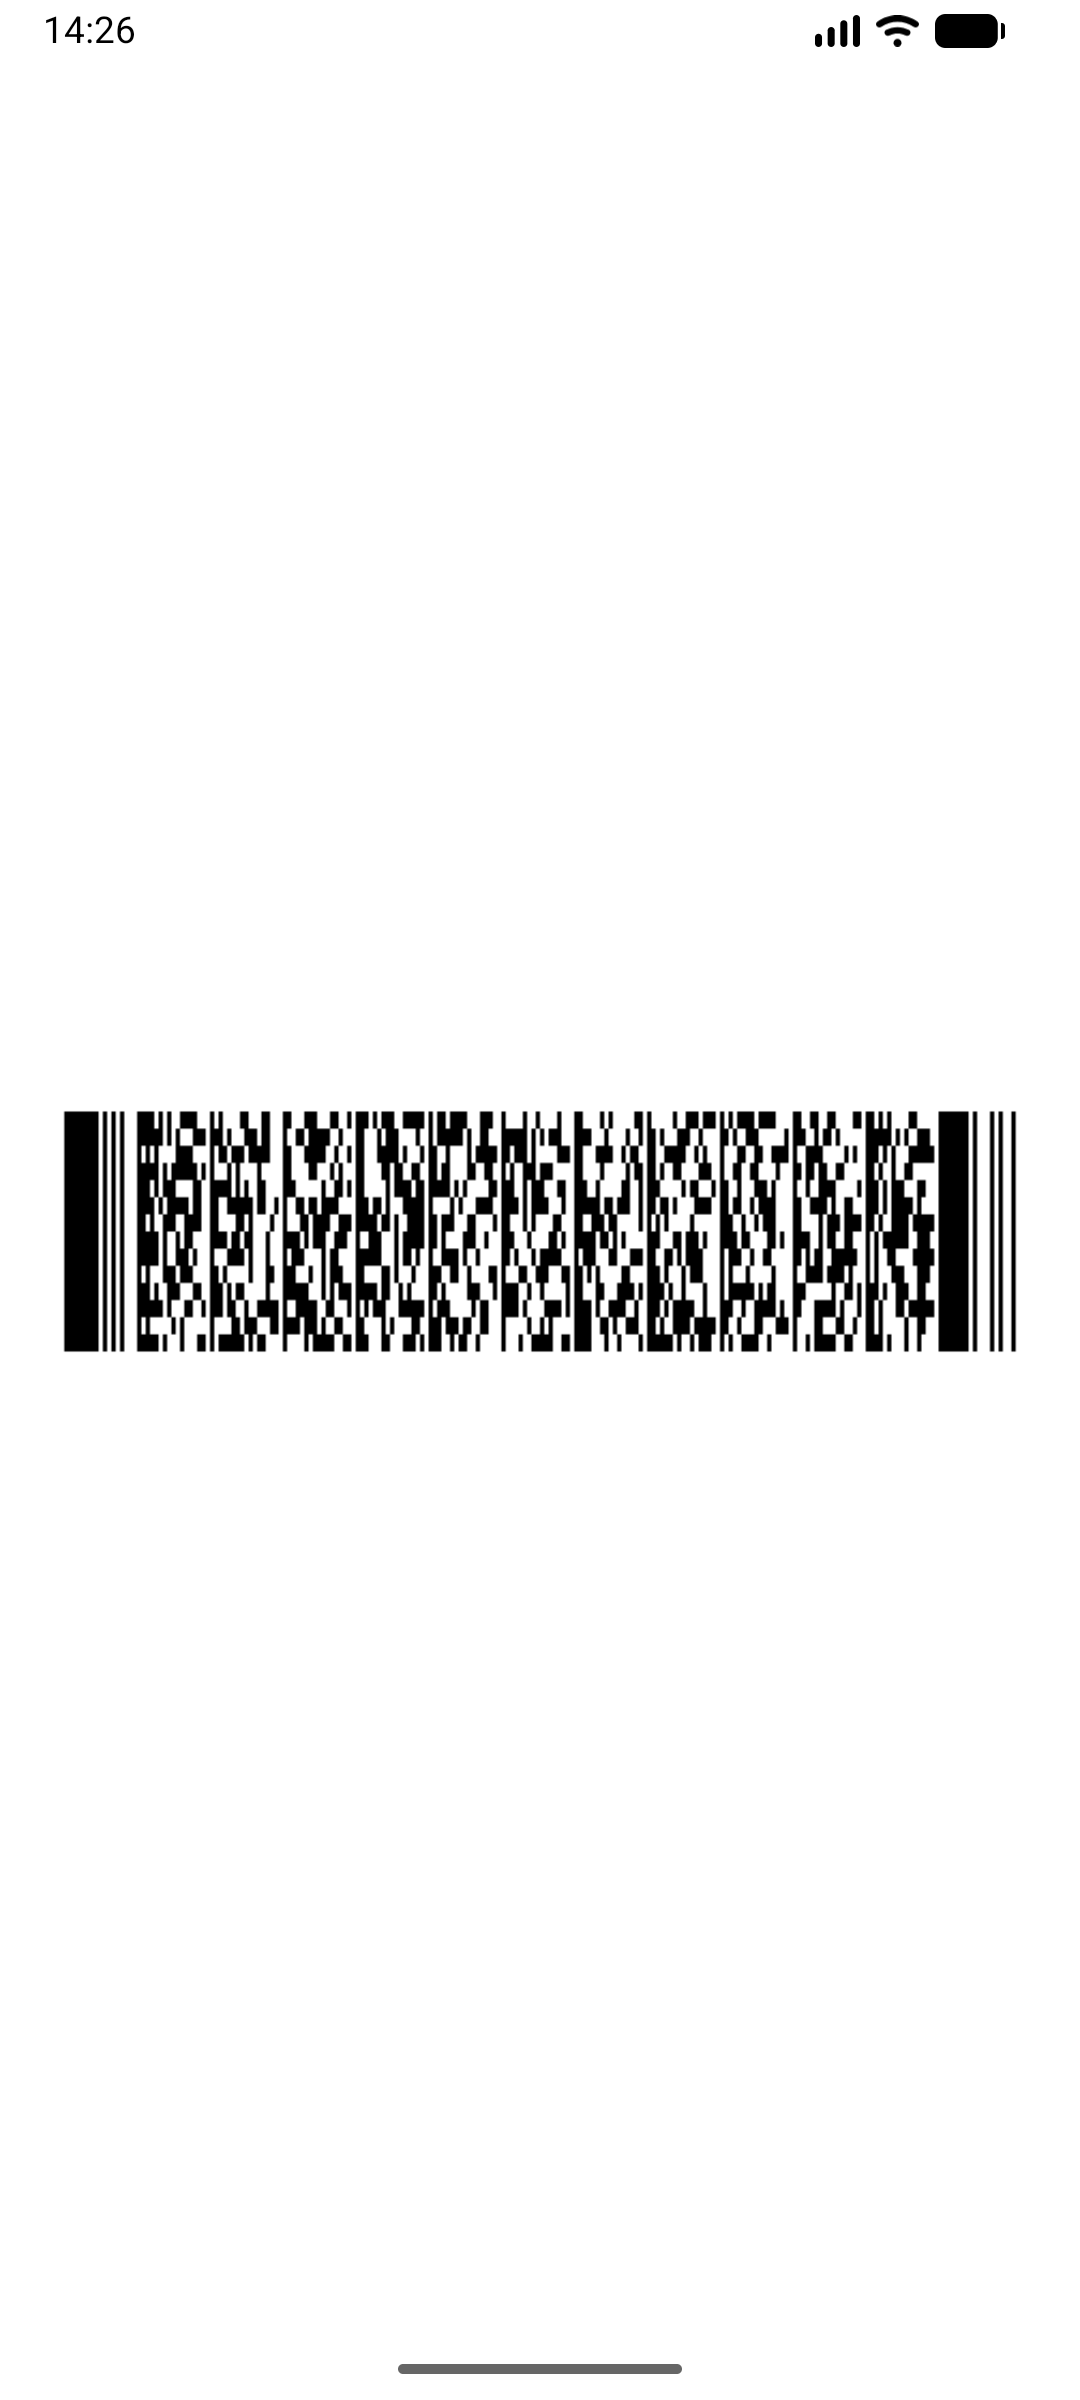
An example of a barcode created using the 2D Barcode application

Main features of the application

Home page

  • After starting, the home page for creating barcodes is displayed.
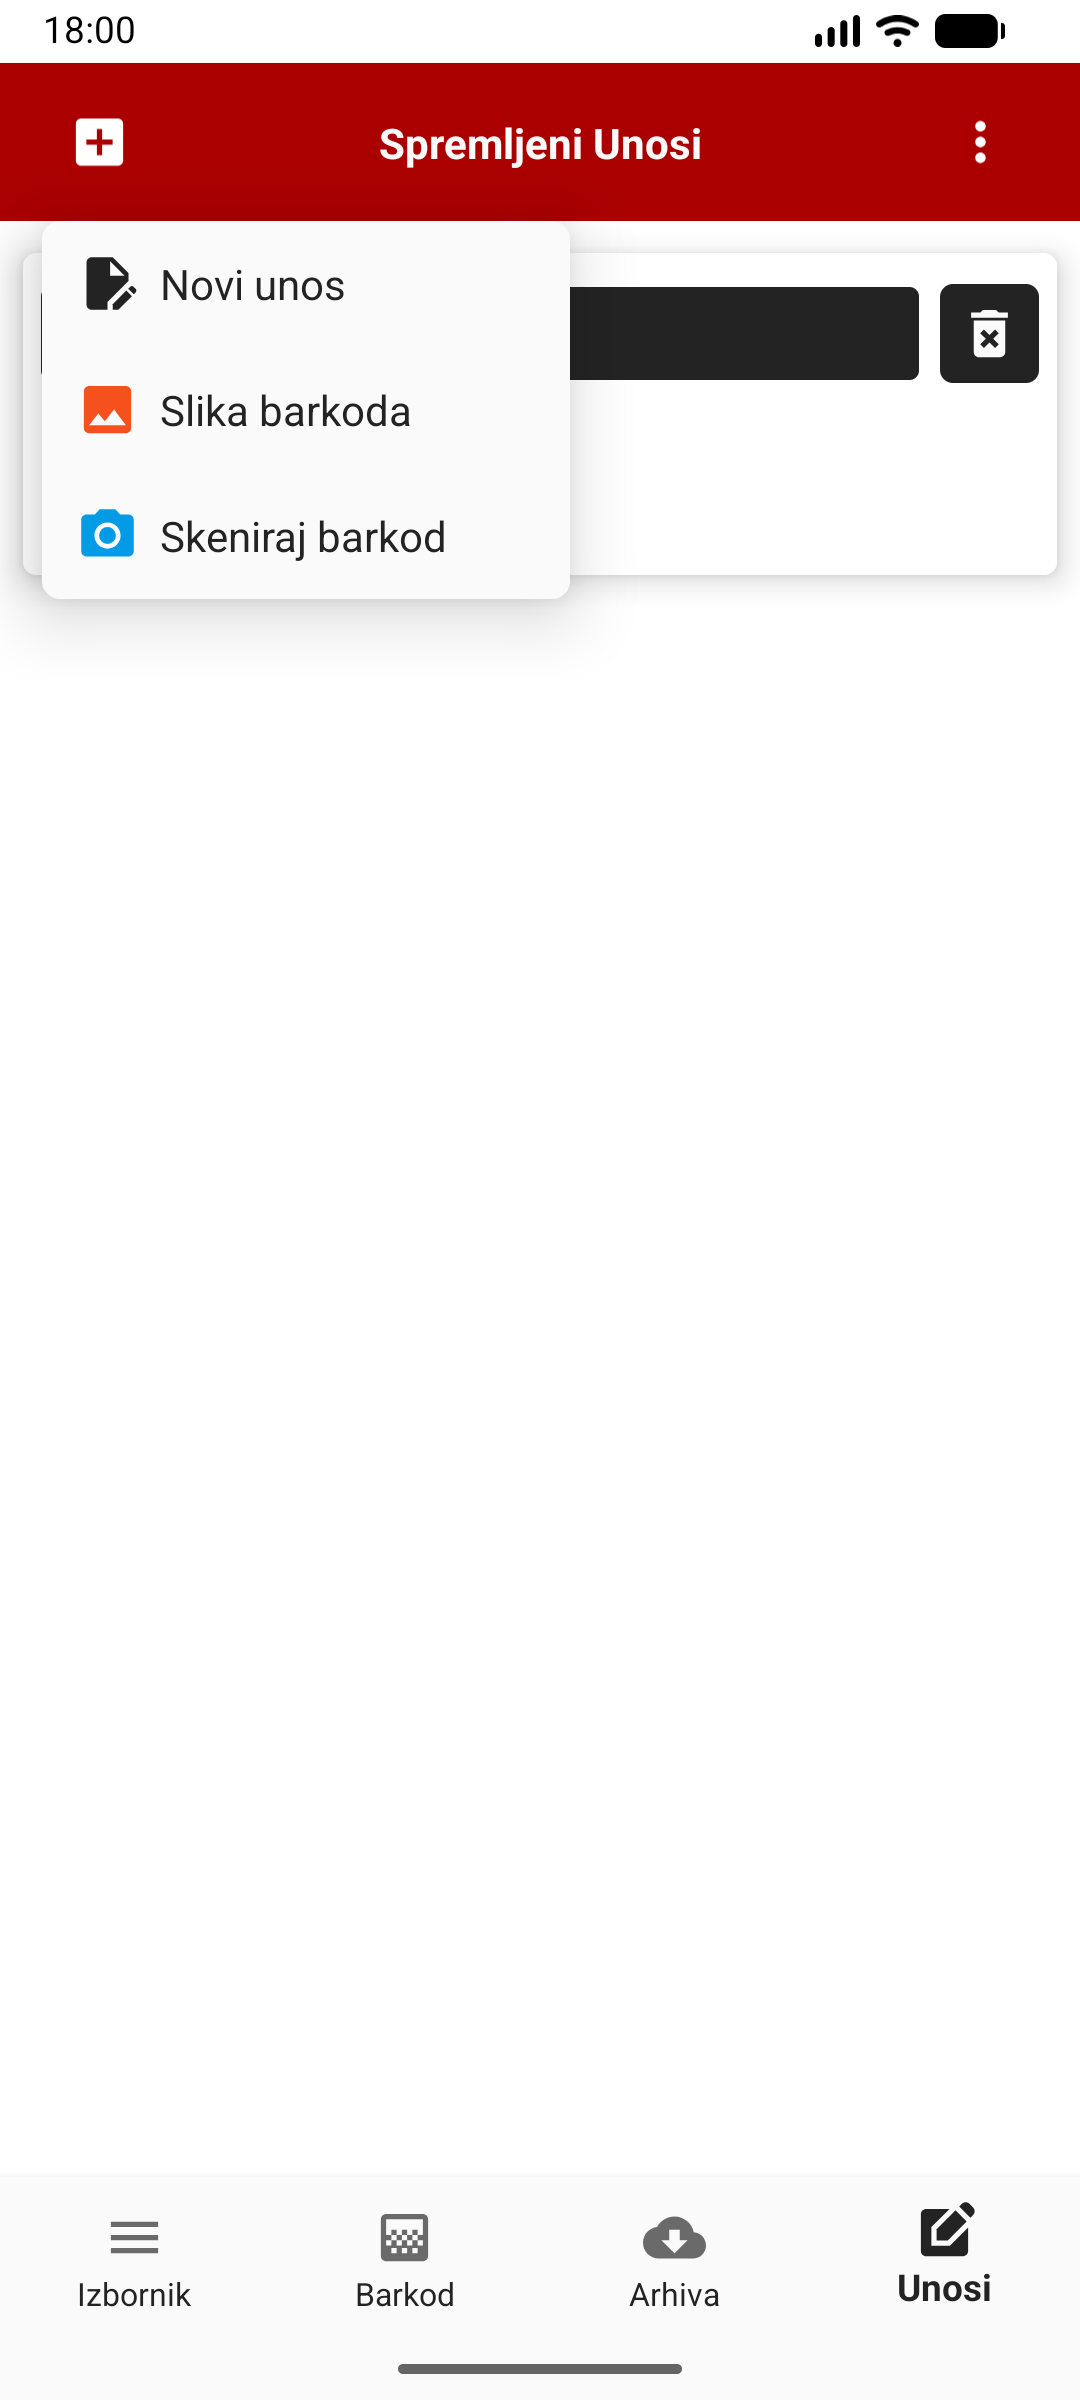
  • By clicking on the sign '+' you can enter data via upload pictures barcode, via saved input and through the camera, respectively by scanning barcode.
  • You can normally enter all the data manually.
  • By clicking on the sign '?' of the questionnaire, you will be shown short instructions.
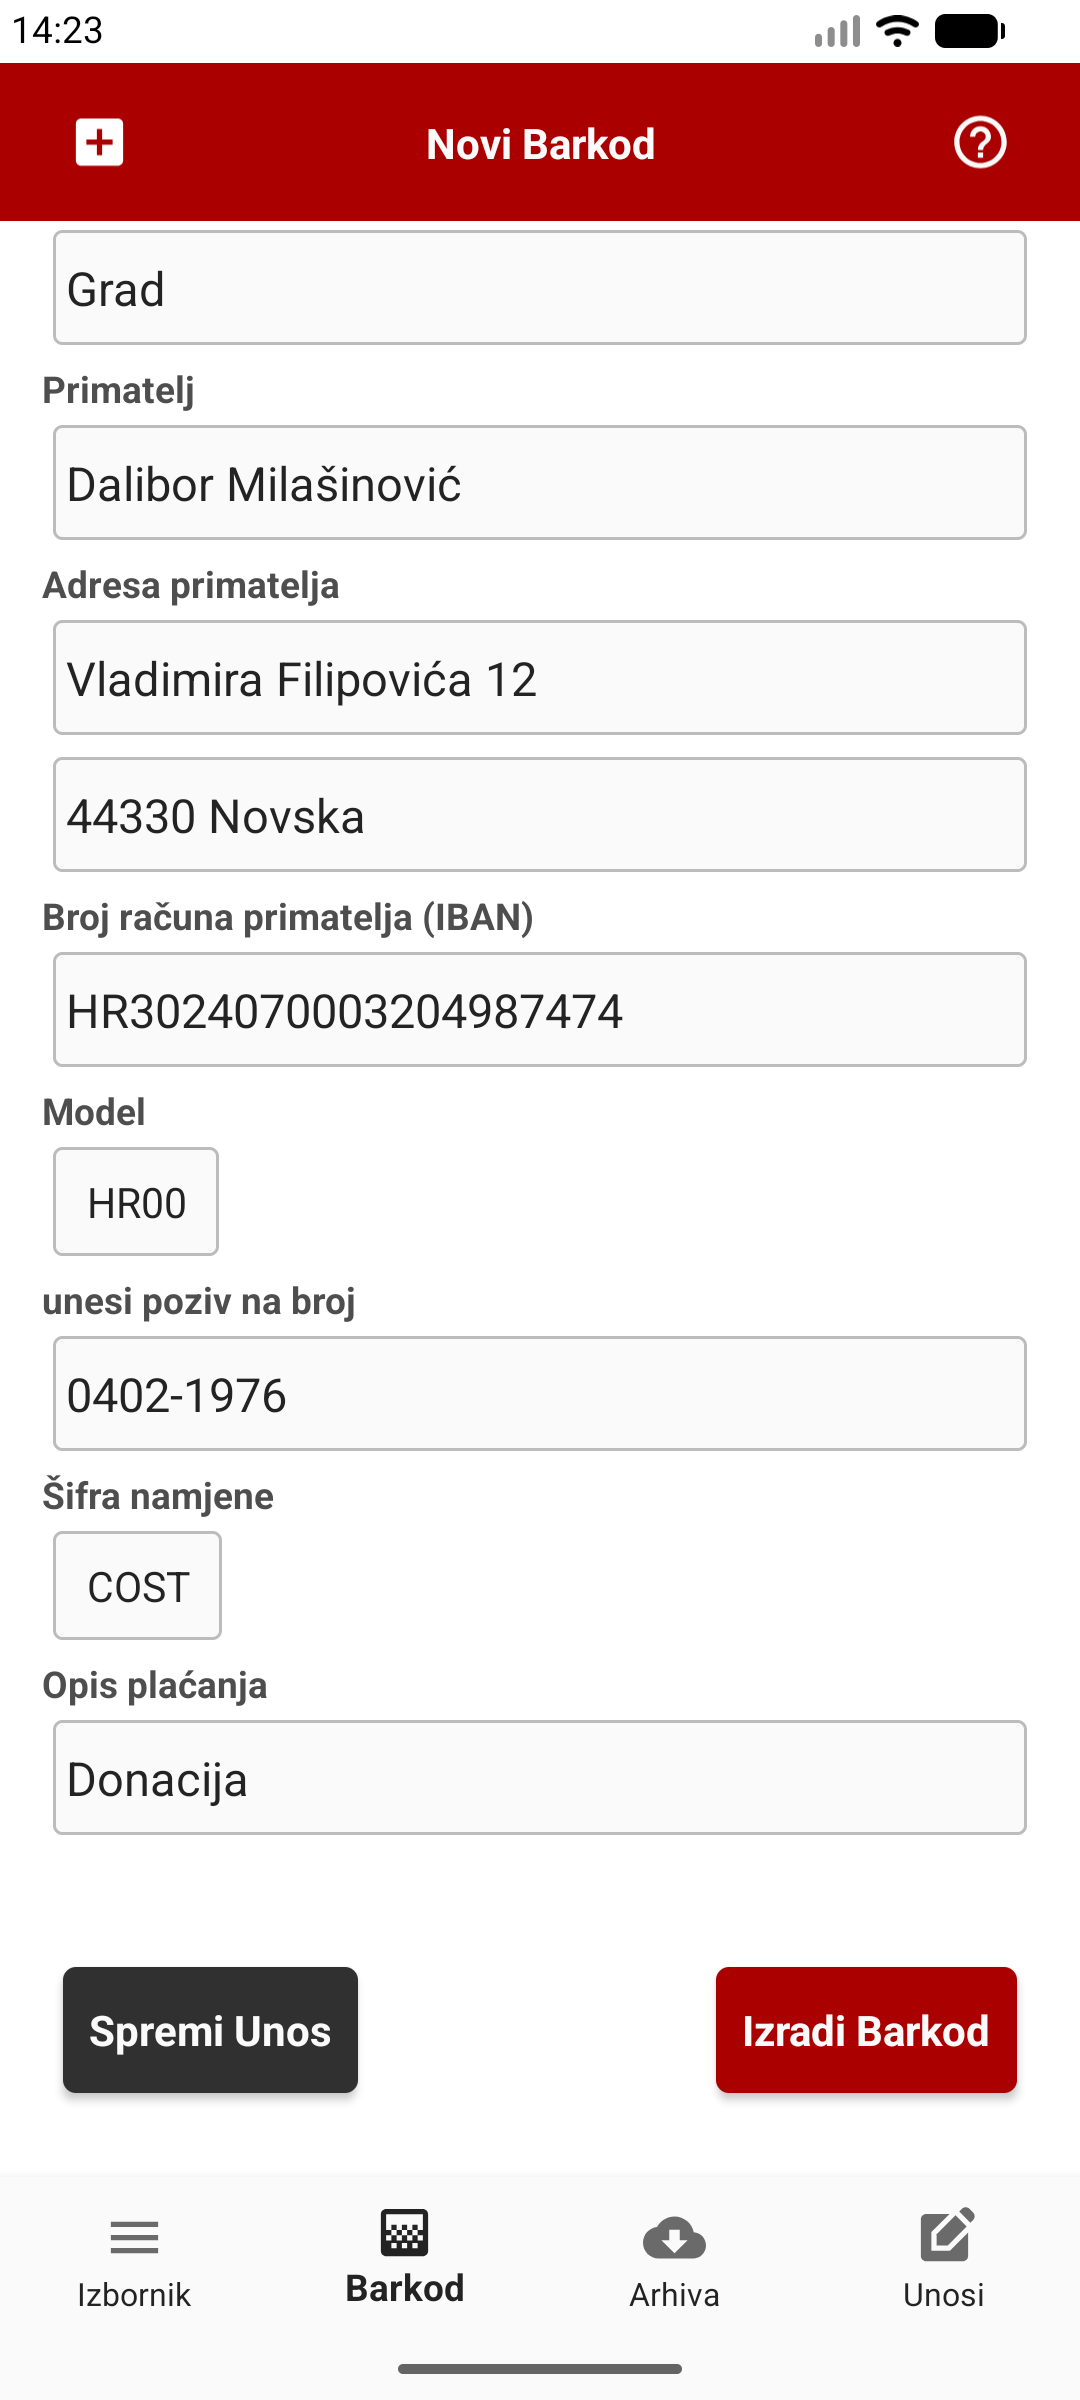
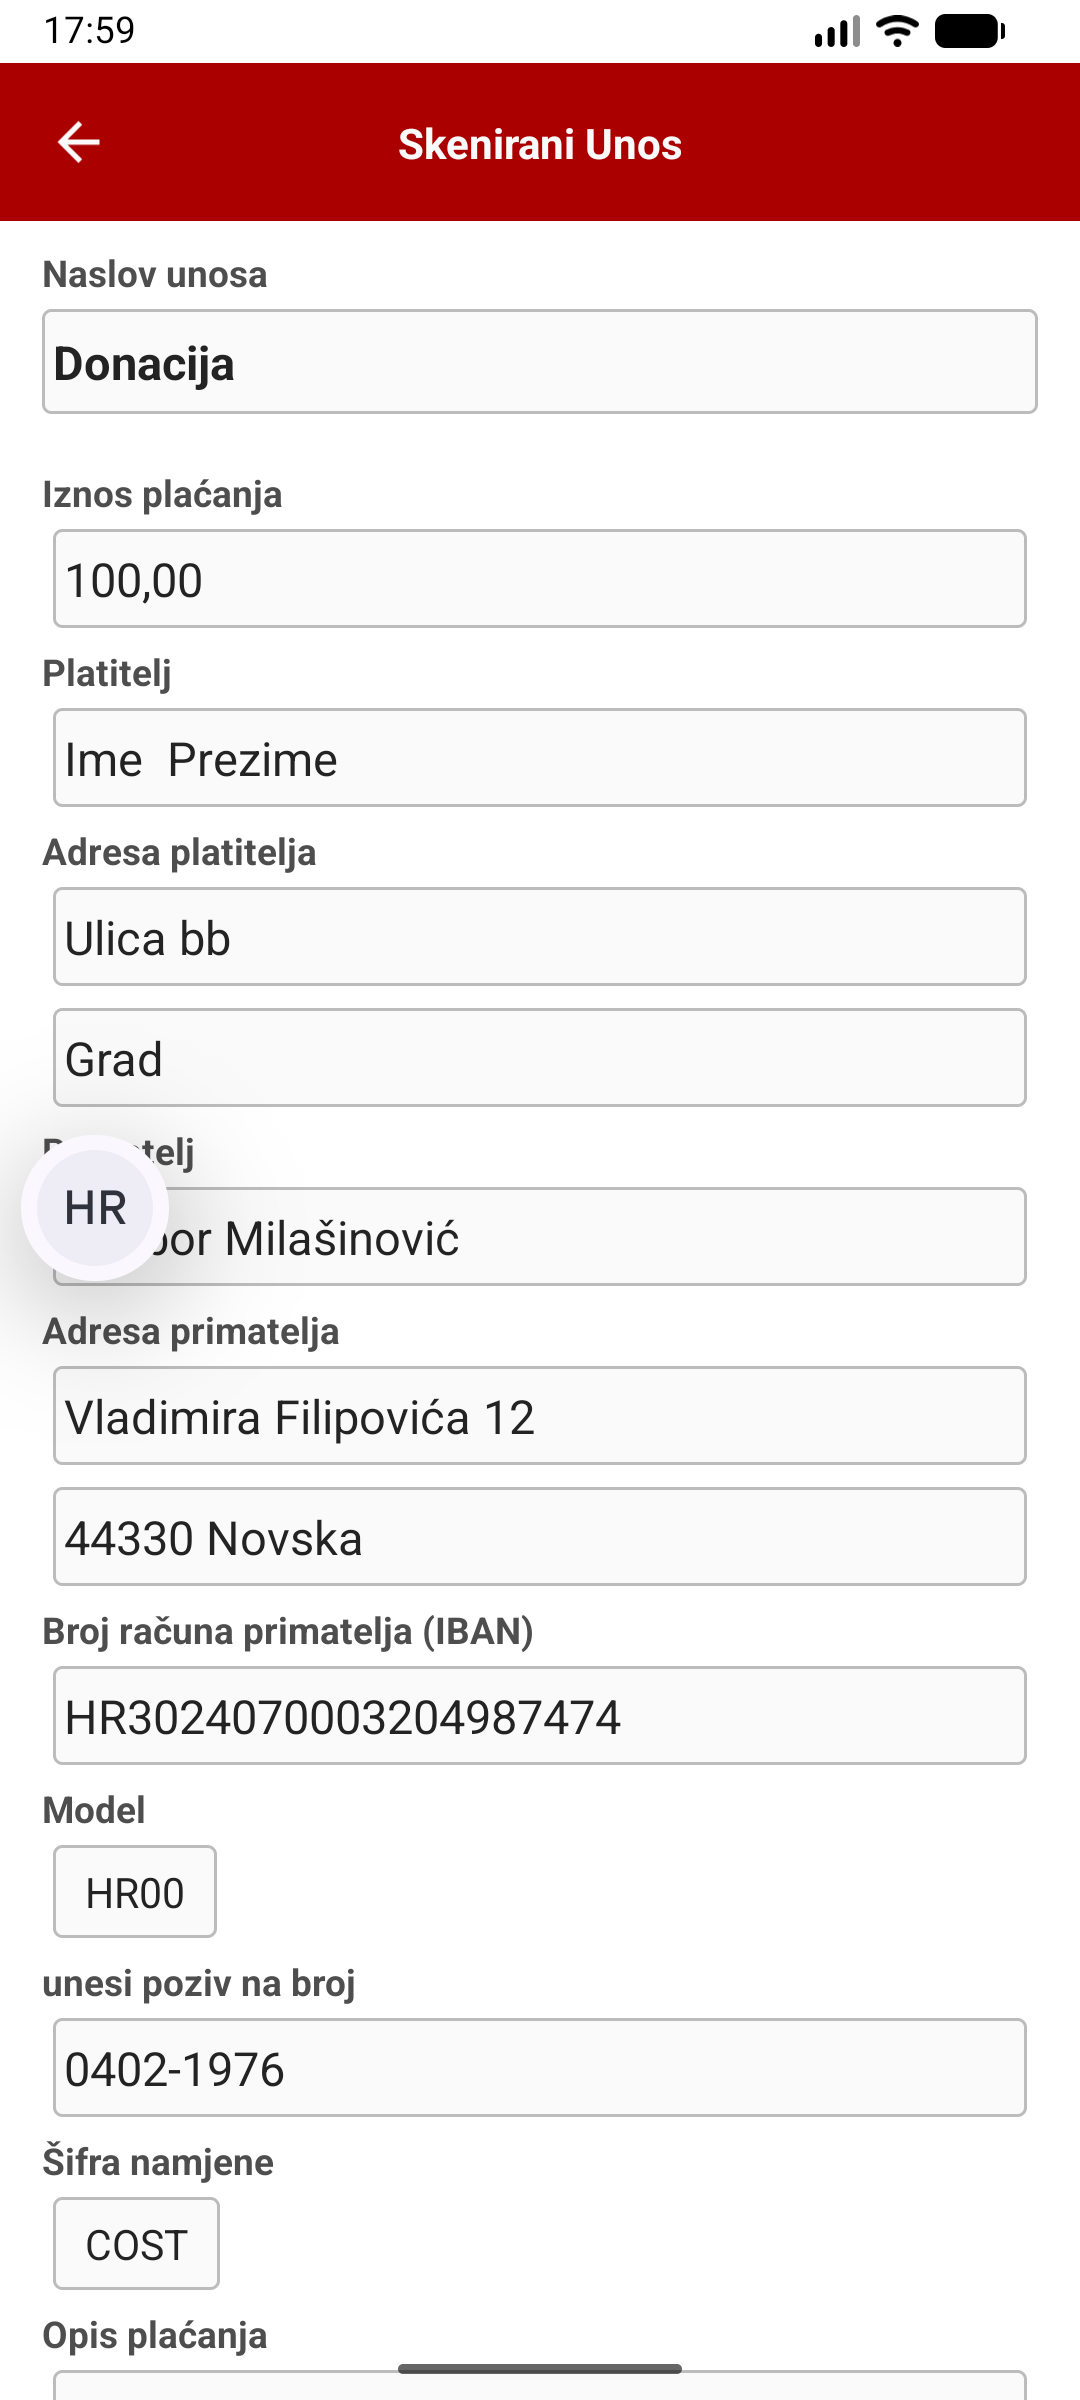
Data entry
  • Fill in all the mandatory fields for the correct creation of the barcode.
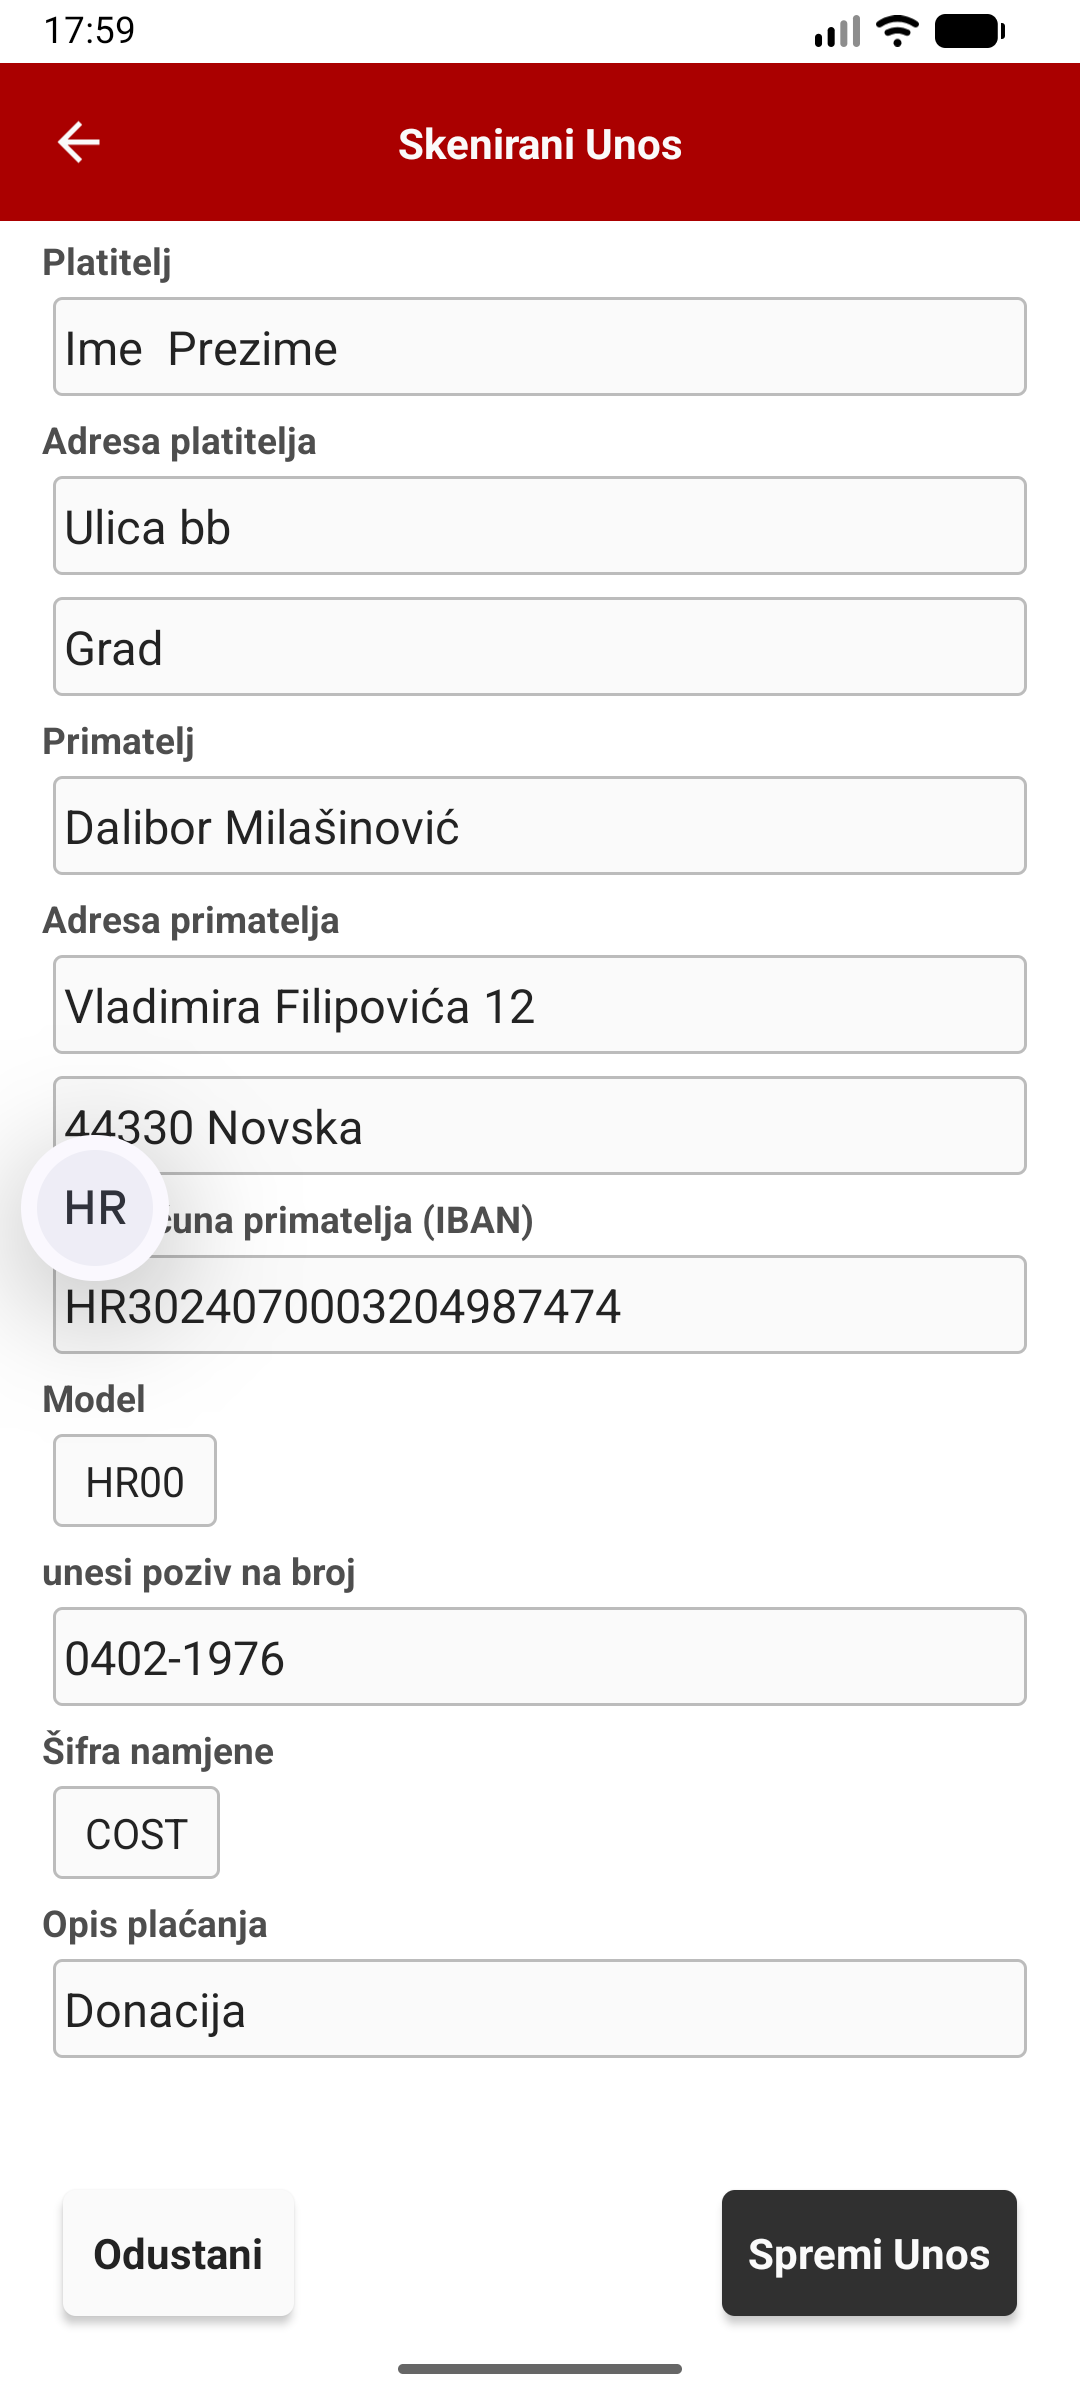
  • Data includes: amount, payer, recipient, IBAN, model, reference number, purpose code and description.
Entry rules
  • The amount is entered without decimal places (e.g. EUR 25.55 = 2555).
  • The IBAN must have 21 characters, including the initial letters 'HR'.
  • Automatic verification of IBAN correctness.
  • A call to a number can only contain numbers and up to two hyphens '-'.
  • The model and purpose code are preset to HR00 i COST.
Barcode creation
  • After entering the data, you can click on the buttons 'Create Barcode'  or on the button 'Save Entry'.
  • 'Create Barcode' by clicking on the button, a barcode is created and it is automatically saved in 'Archive'.
  • 'Save Entry' saves the entered data in the database on the page 'Entries' from where you can later edit or load data without manual entry.

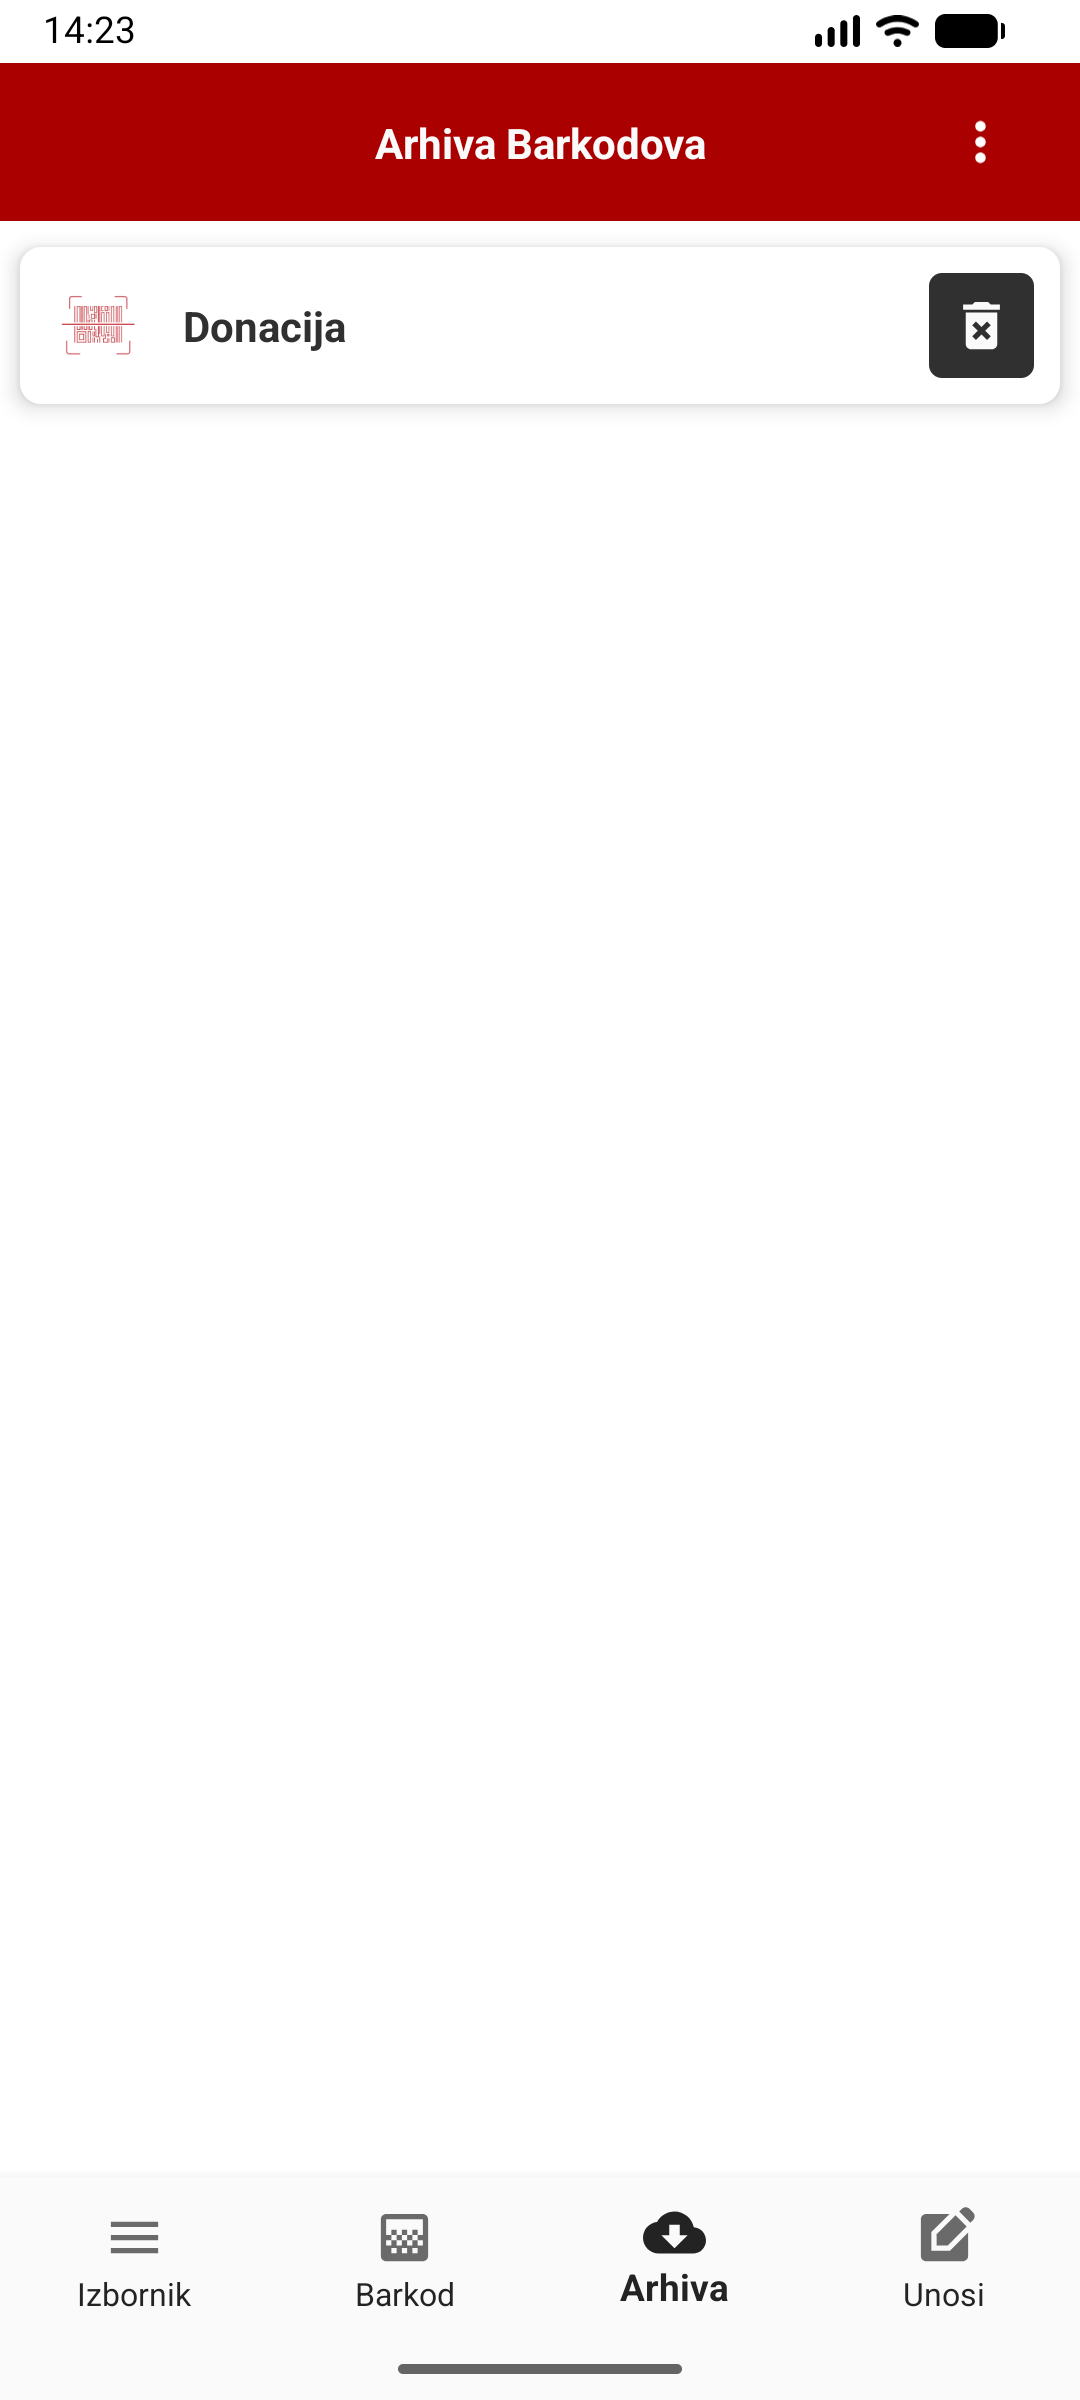
Barcode Archive

  • Created barcodes are saved in 'Archive'.
  • IN Archives you can delete an individual barcode or all generated barcodes.
  • Clicking on the barcode image opens the barcode details.
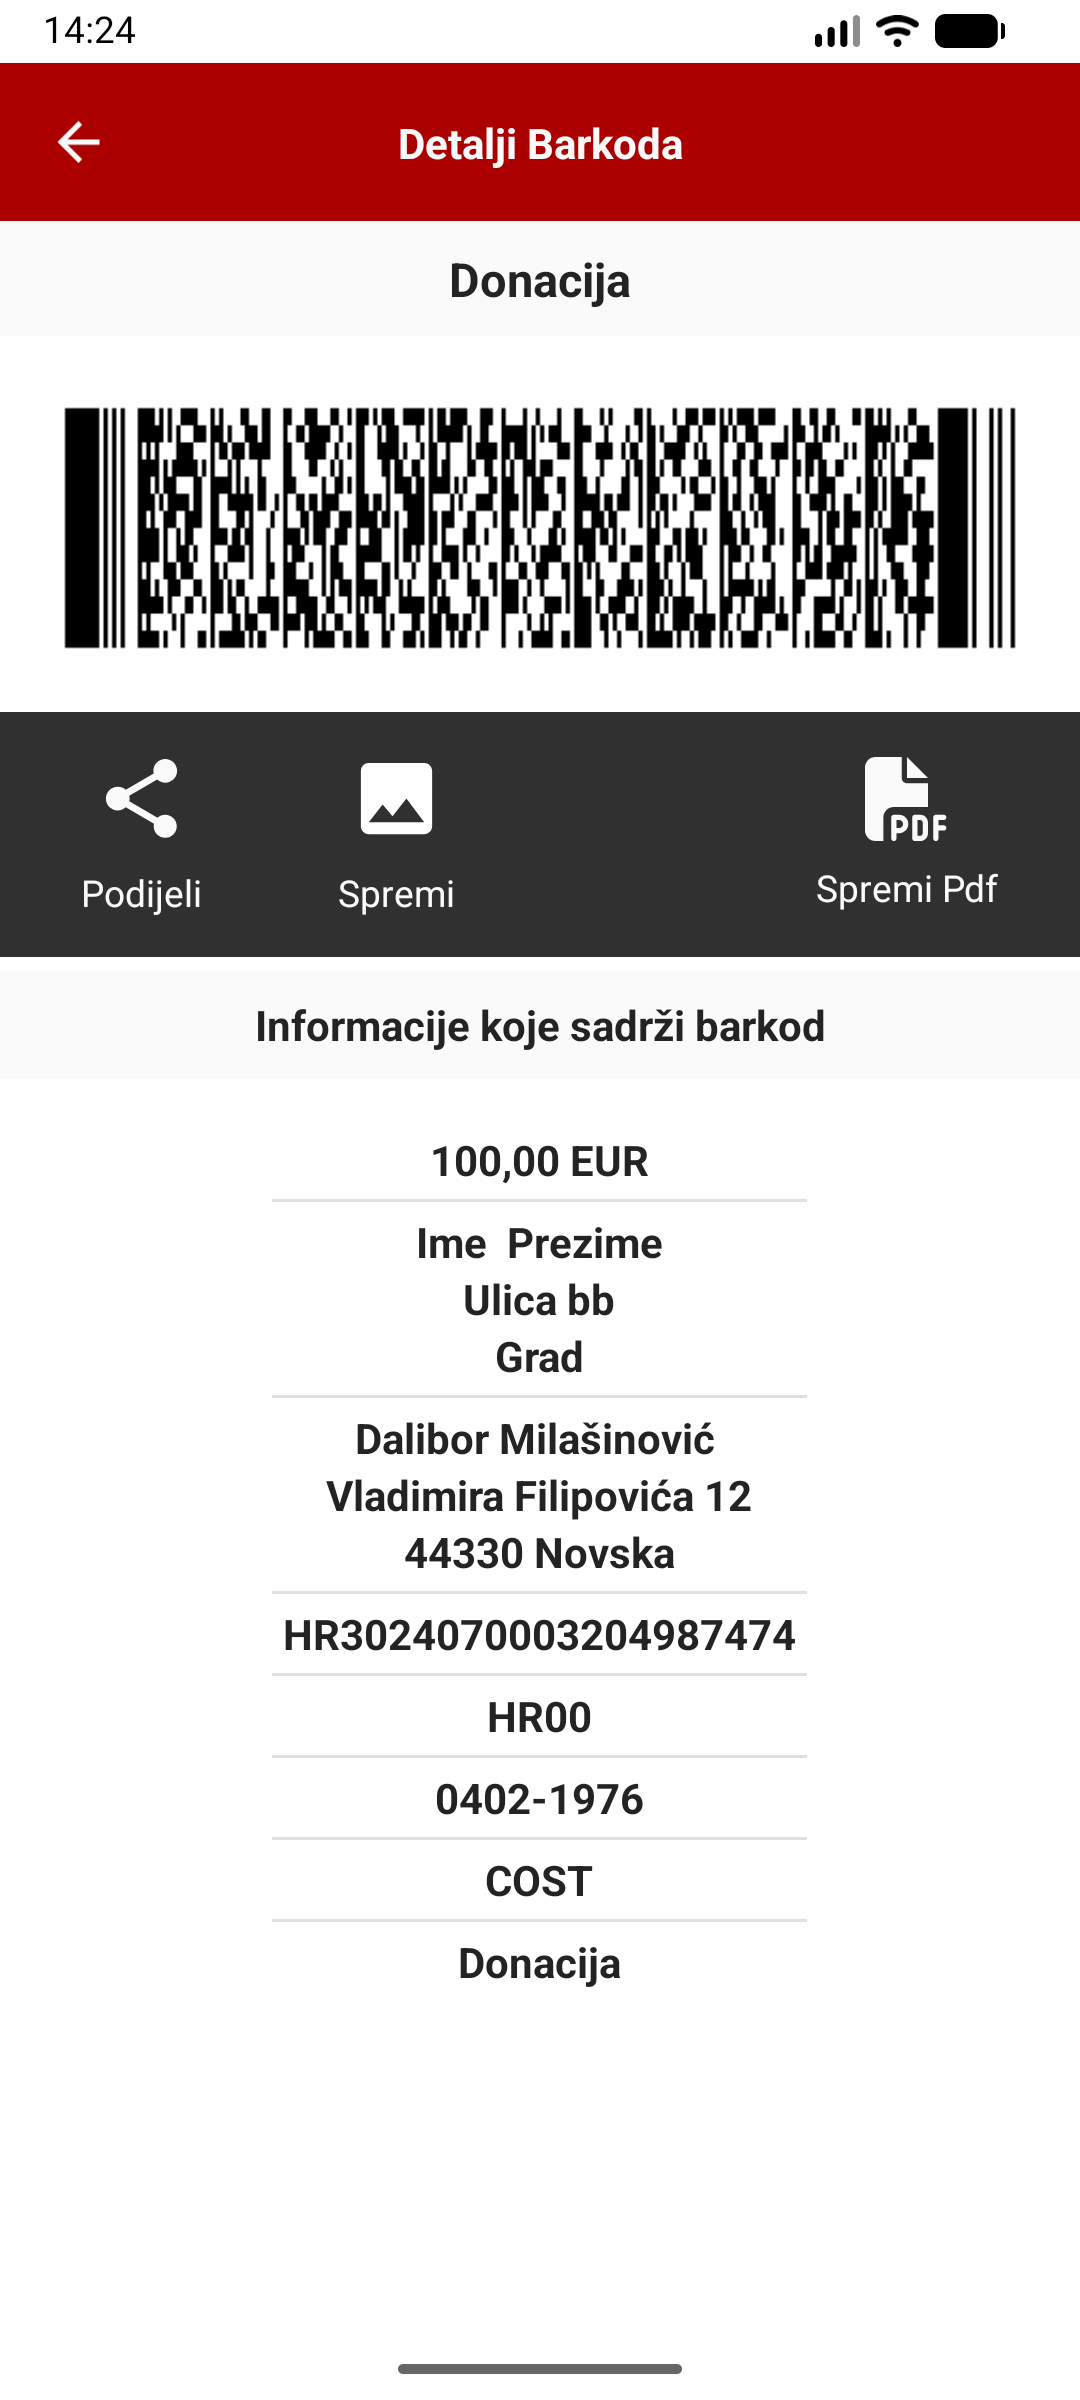
Barcode details
  • There you are shown the title and the image of the barcode itself, which you can click on.
  • 'Share' you can send the barcode image via email, message or other sharing applications.
  • 'Save' saves the barcode image to your image gallery in the Barcode folder.
  • 'Save pdf' saves the barcode with all the details in PDF format in your Downloads folder and Barcode subfolder.
  • Below that is the information contained in the generated barcode.

    Entries

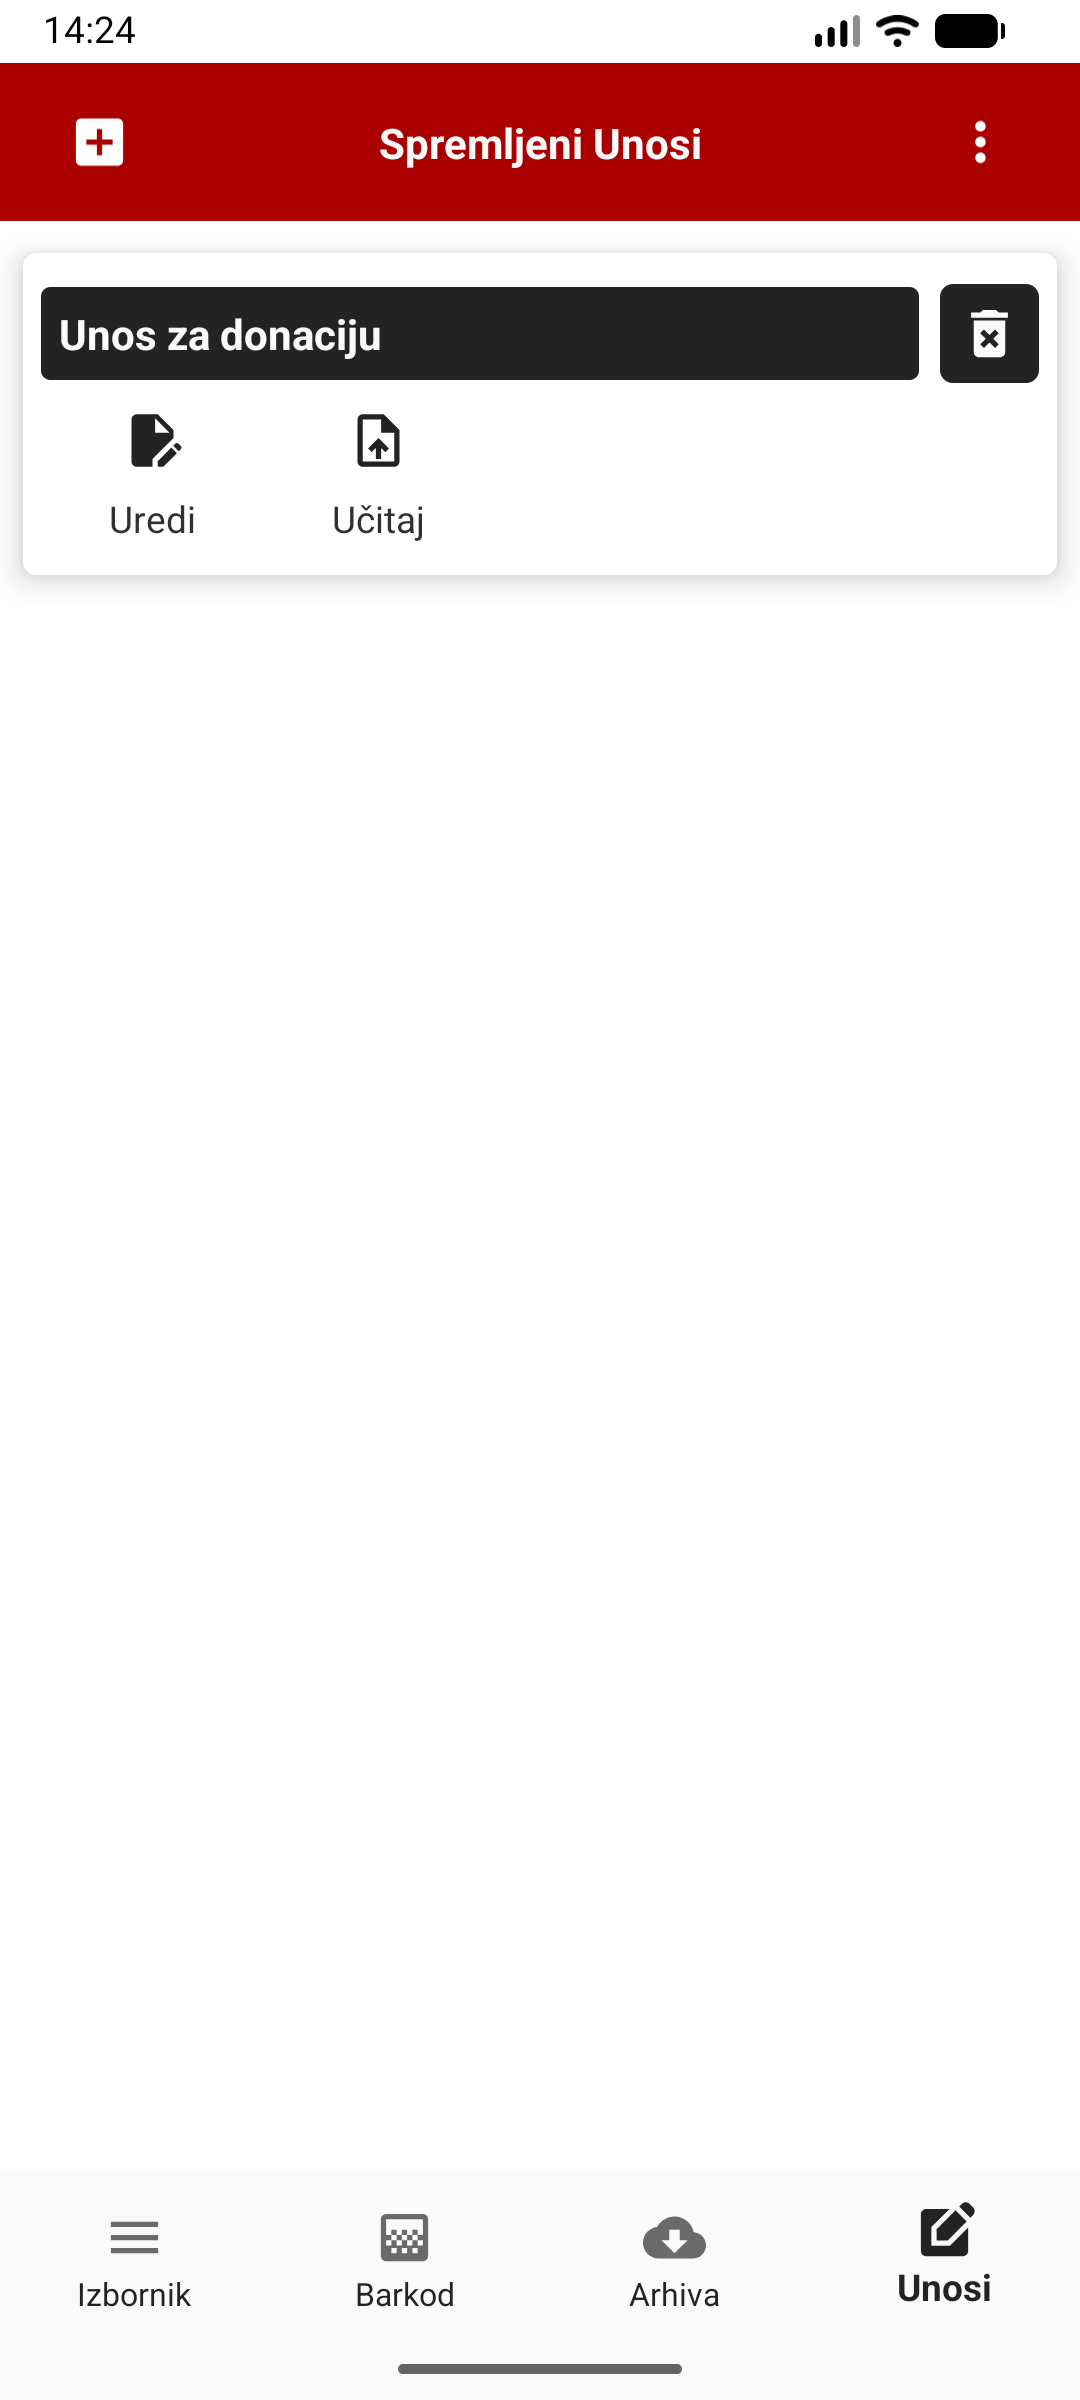
    • On the page 'Entries'  you can save the entered data for later use and create barcodes without manual data entry.
    • You can enter 'New Entry' for manual entry or the same as creating a barcode by uploading a barcode image or scanning a barcode image.
    Saved Entries
    • You can edit or load saved entries
    • 'Editing' you can modify the data on the saved entry.
    • 'Load' loads the saved data to the main barcode creation page. After uploading, you can immediately create a new barcode with the uploaded data.

      REMARK!

      The difference between the free and paid version of the application.

      Free version:

      • Contains Google ads.
      • Production limit up to 5 barcodes.
      • Saving limit up to 5 entries.

      Other notes:

      • Before creating a barcode, check the accuracy of the entered data.
      • Check the correctness of the generated barcode.
      • By using the application, you assume full responsibility for all possible consequences.
      • The author of the application is not responsible for misuse of barcodes.

      See a short overview of how the application works in the video.

      Share the article